The Jedi Tutorial
Creating a project
Jedi is a project-oriented tool. this means that every package,
class and method Jedi handles must belog to a project. Jedi
is only capable of displaying one project at a time. For this tutorial,
this means that before we can start with any classes, a new project has
to be created:
Select 'New Project' from the 'Project'-menu.
A requester will pop up and prompt you for the project name. Type, for
example, 'HelloWorld' and hit return. A new project is initialized
and we are all set for starting with the implementation.
Writing the code
First a package must be created. Move the mouse over the list in the upper
left corner, push the right button and select 'add'.
A requester will prompt for a package name. Enter 'helloworld'
and hit return. Note, that the package name appears in the list and is
highlighted. The right-button-menu contains some other useful functions
which are not covered here. Feel free to explore.

Now we create the HelloWorld class.
Move the mouse over the list in the upper center and push the right button.
Select 'add Class'. When prompted for a class name, type
'HelloWorld' and hit return.
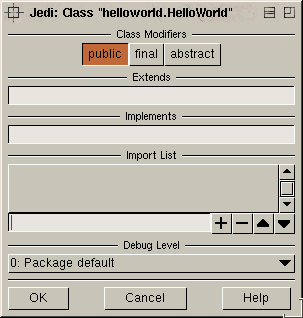
A class properties dialog will pop up. Here you can change status,
superclass, interfaces and imported packages for the new class. The meaning
of these otions should be pretty obvious for a java programmer. Detailed
information is available in the class
properties help. For now accept the defaults and hit 'Ok'.
The class name should now appear in your class list, again highlighted.

Next a method has to be created. Repeat the creation procedure in the
upper right box: Select 'add Method'
in the right-button-menu. When the name requester shows, type 'main'
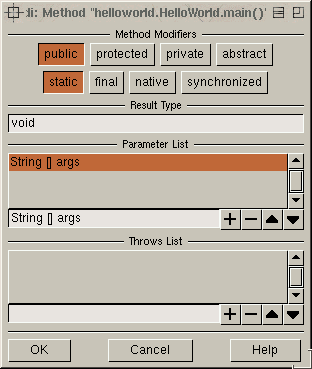
and hit return. A method property dialog will show up and allow to modify
method status, return value, parameters and exceptions. Note that Jedi
has recognized the main function and already predefined the typical
properties for it. Accept them and click 'Ok'.
The new method should appear in the method list. If curious about other
details of the method properties, take a look at the method
properties help.
Now move your mouse to the editor panel in the bottom half and start
implementing:
System.out.println("Hello, World!");
Really experienced programmers might want to do something more sophisticated,
but for now this should be enough. ;)
Note that the method header is displayed above the text. It can also
be edited to change parameter names and types on the fly, but we do not
want to do that now. Also note that no enclosing curly brackets are required
in the code panel.
At this point we are ready to start compiling
and testing the example.

